The Ultimate Guide to Choosing Sewing Machines for DIY Projects
Choosing the right sewing machine is crucial for anyone involved in DIY projects, whether you’re a seasoned enthusiast or just starting out. A sewing machine can significantly enhance your productivity, allowing you to complete projects with greater speed and precision than hand sewing. Additionally, the right machine can open up new creative possibilities, enabling you to take on more complex and diverse projects.
In this comprehensive guide, we’ll delve into all aspects of selecting and using a sewing machine for your DIY endeavors. We’ll explore the benefits of owning a sewing machine, guide you through the process of choosing the best model for your needs, and provide detailed reviews of some of the most popular and high-quality products available on the market. Whether you’re looking to make clothes, create home decor items, or embark on quilting projects, we’ve got all the information you need to make an informed decision. 🧵
Why a Sewing Machine is a Must-Have for DIY Projects
Sewing machines have revolutionized the world of DIY projects, making them more accessible and enjoyable for everyone. Here’s why owning a sewing machine is essential:
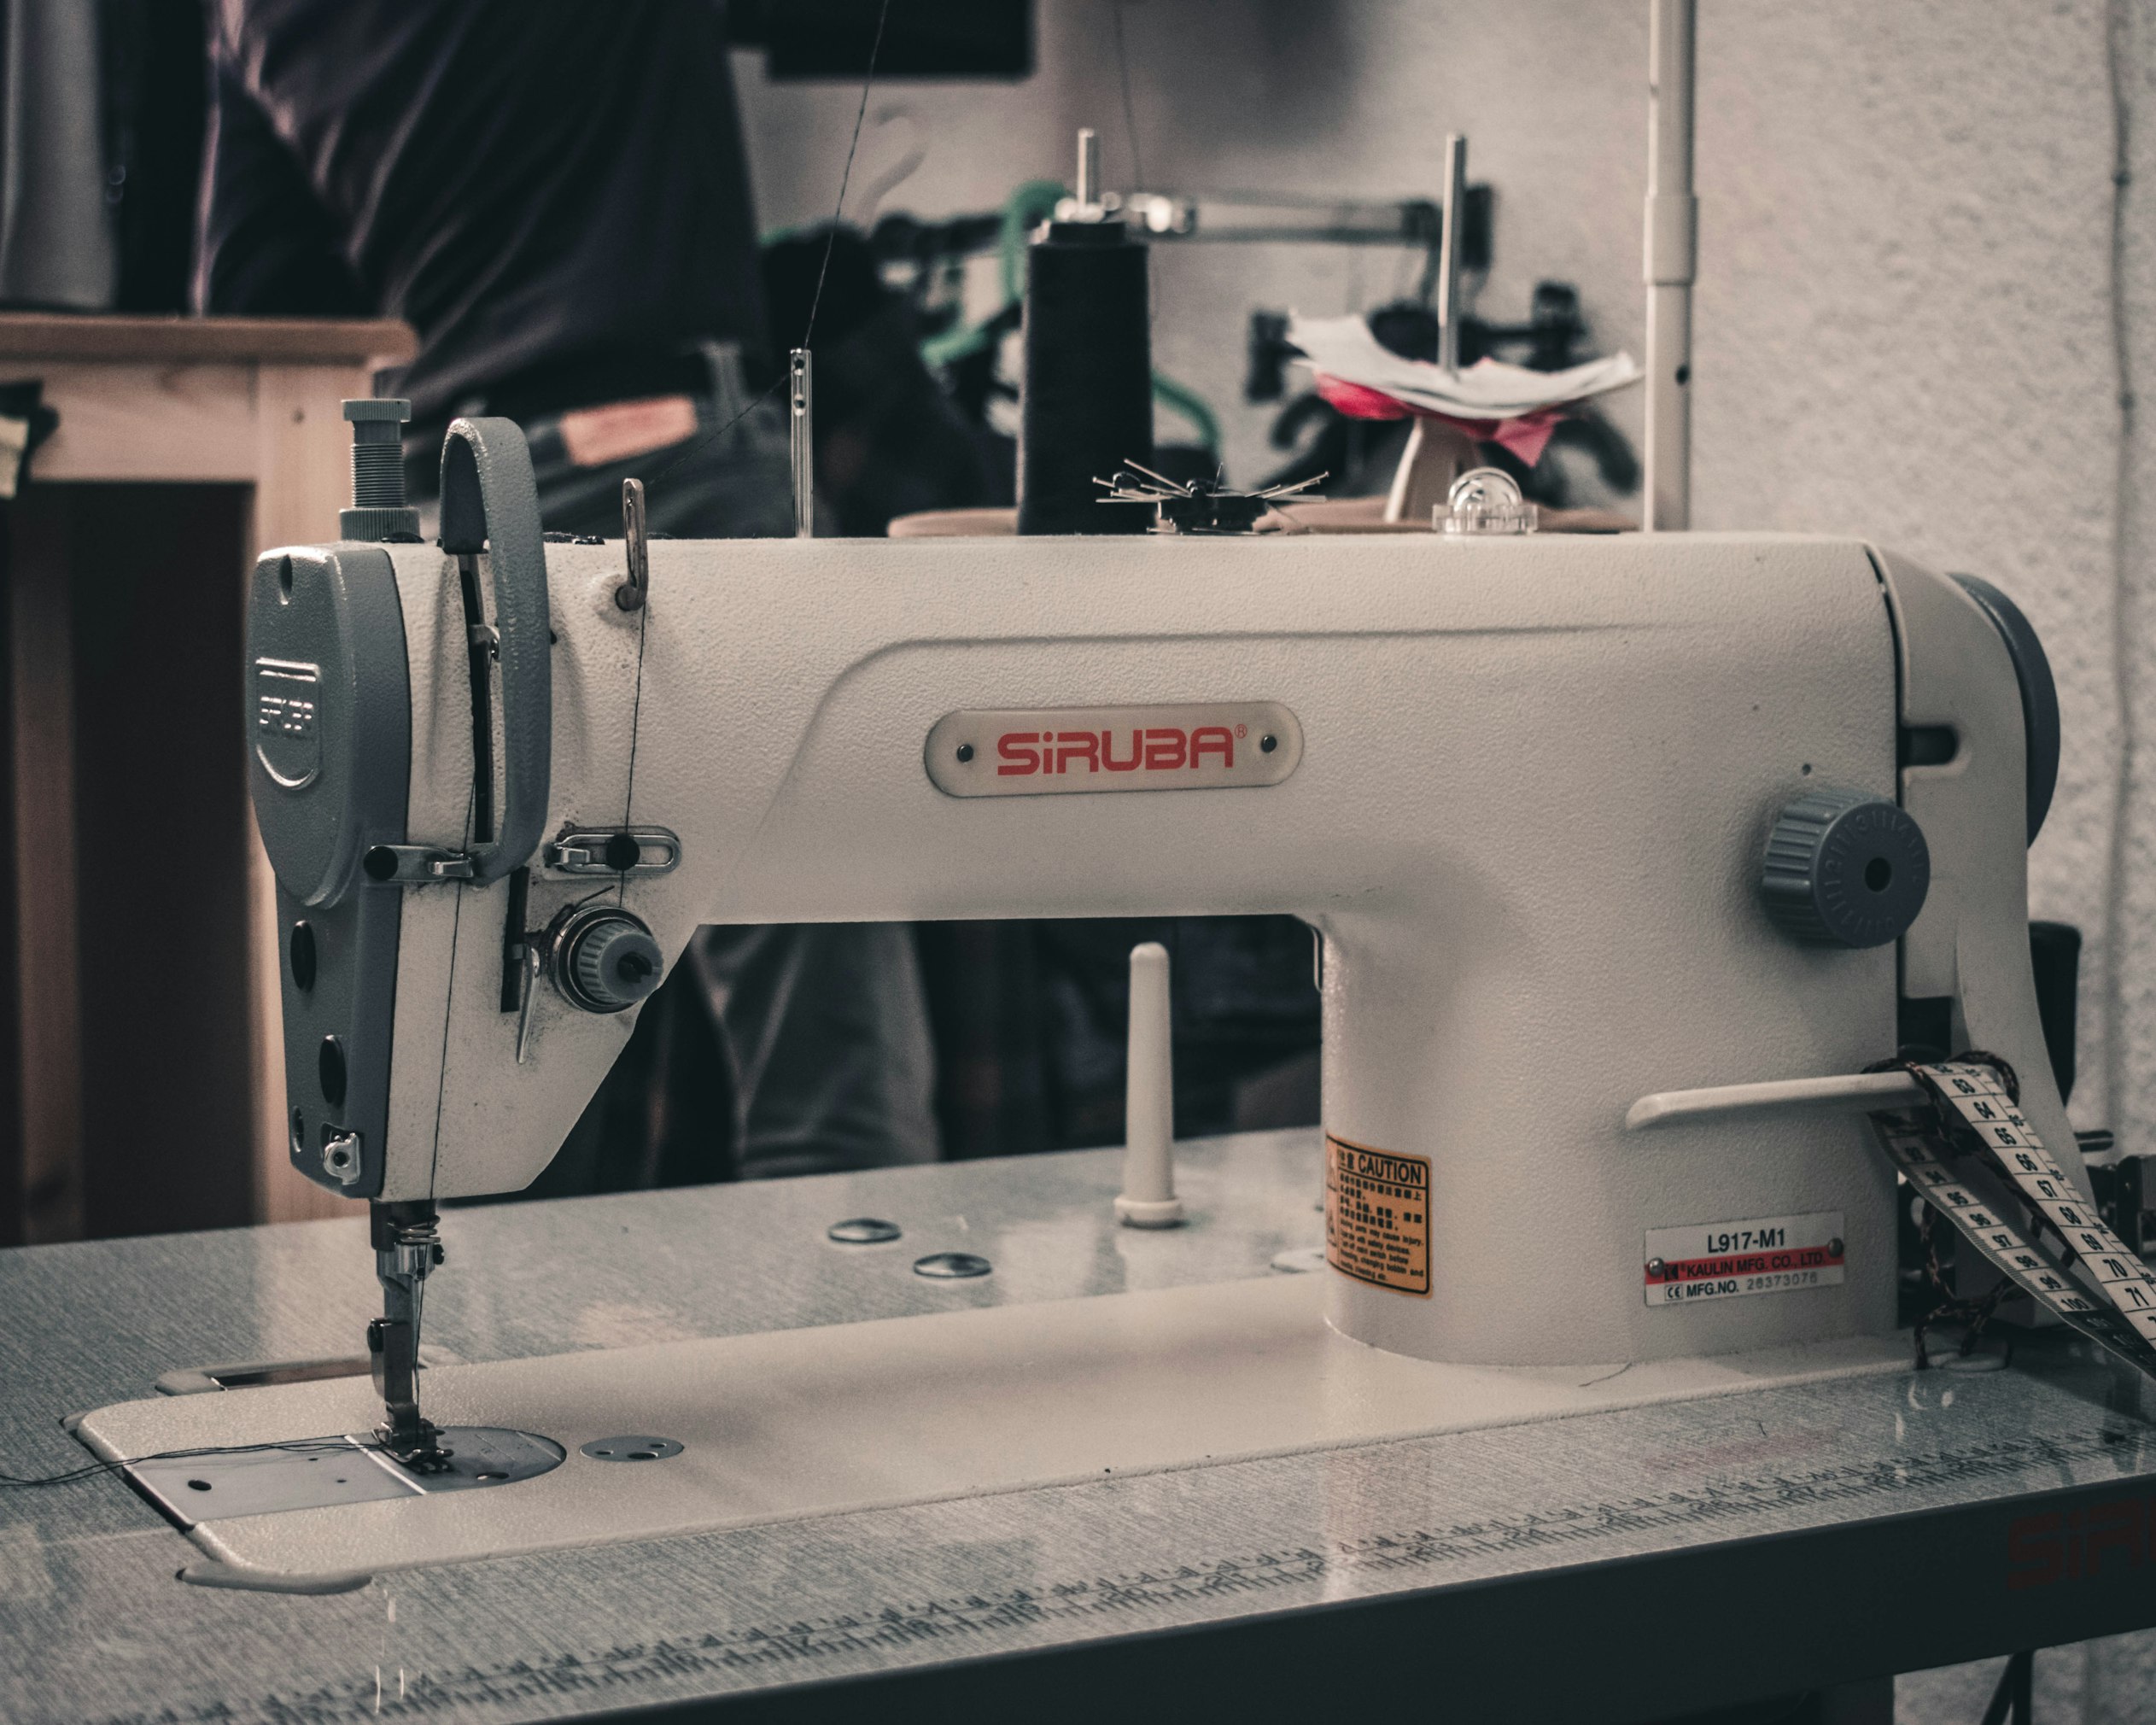
Time-Saving ⏱️
Sewing machines dramatically reduce the time it takes to complete projects compared to hand sewing. What might take hours by hand can be accomplished in minutes with a machine. This efficiency allows you to undertake more projects and perfect your skills faster.
Precision and Consistency 🎯
Modern sewing machines offer precise stitching, which is difficult to achieve by hand. Features like straight stitch, zigzag, and decorative stitches ensure your work looks professional. Consistency in stitch length and tension means fewer mistakes and a cleaner finish on your projects.
Versatility 🎨
With various stitch options and attachments, sewing machines can handle a wide range of fabrics and projects. Whether you’re working with delicate silks or heavy denim, a sewing machine can adapt to your needs. You can create clothing, accessories, home decor, quilts, and more with a single machine.
Creativity Unleashed 🌈
Sewing machines allow you to explore and expand your creative horizons. With the ability to sew complex patterns, embroider, and add decorative stitches, your projects can go from simple to spectacular. Personalize your clothing, make unique gifts, and decorate your home with one-of-a-kind items.
Cost-Effective 💰
While the initial investment in a sewing machine can be significant, it pays off in the long run. Making your own clothes and home items is often cheaper than buying them. Plus, you can repair and upcycle old garments, reducing waste and saving money.
Durability and Strength 🛠️
Sewing machines are designed to handle tougher tasks that hand sewing can’t manage. They provide stronger and more durable stitches, ensuring that your projects last longer. This is particularly important for items that experience a lot of wear and tear, like bags, jeans, and upholstery.
Health Benefits 🧘♀️
Using a sewing machine can also be beneficial for your health. It’s a great way to reduce stress and improve your mental well-being. The focus required for sewing can be meditative, and completing a project provides a sense of accomplishment. Additionally, sewing machines reduce the strain on your eyes and hands compared to hand sewing.
Eco-Friendly Choices 🌱
Sewing machines allow you to make eco-friendly choices. By creating your own items, you can choose sustainable fabrics and avoid the fast fashion industry’s environmental impact. You can also upcycle old clothes, giving them a new life and reducing waste.
Social Connection 👥
Joining a sewing community or class can be a wonderful way to connect with others who share your interests. Many people find sewing to be a social activity, where they can share tips, patterns, and support. This can enhance your enjoyment and learning experience.
How to Choose the Right Sewing Machine
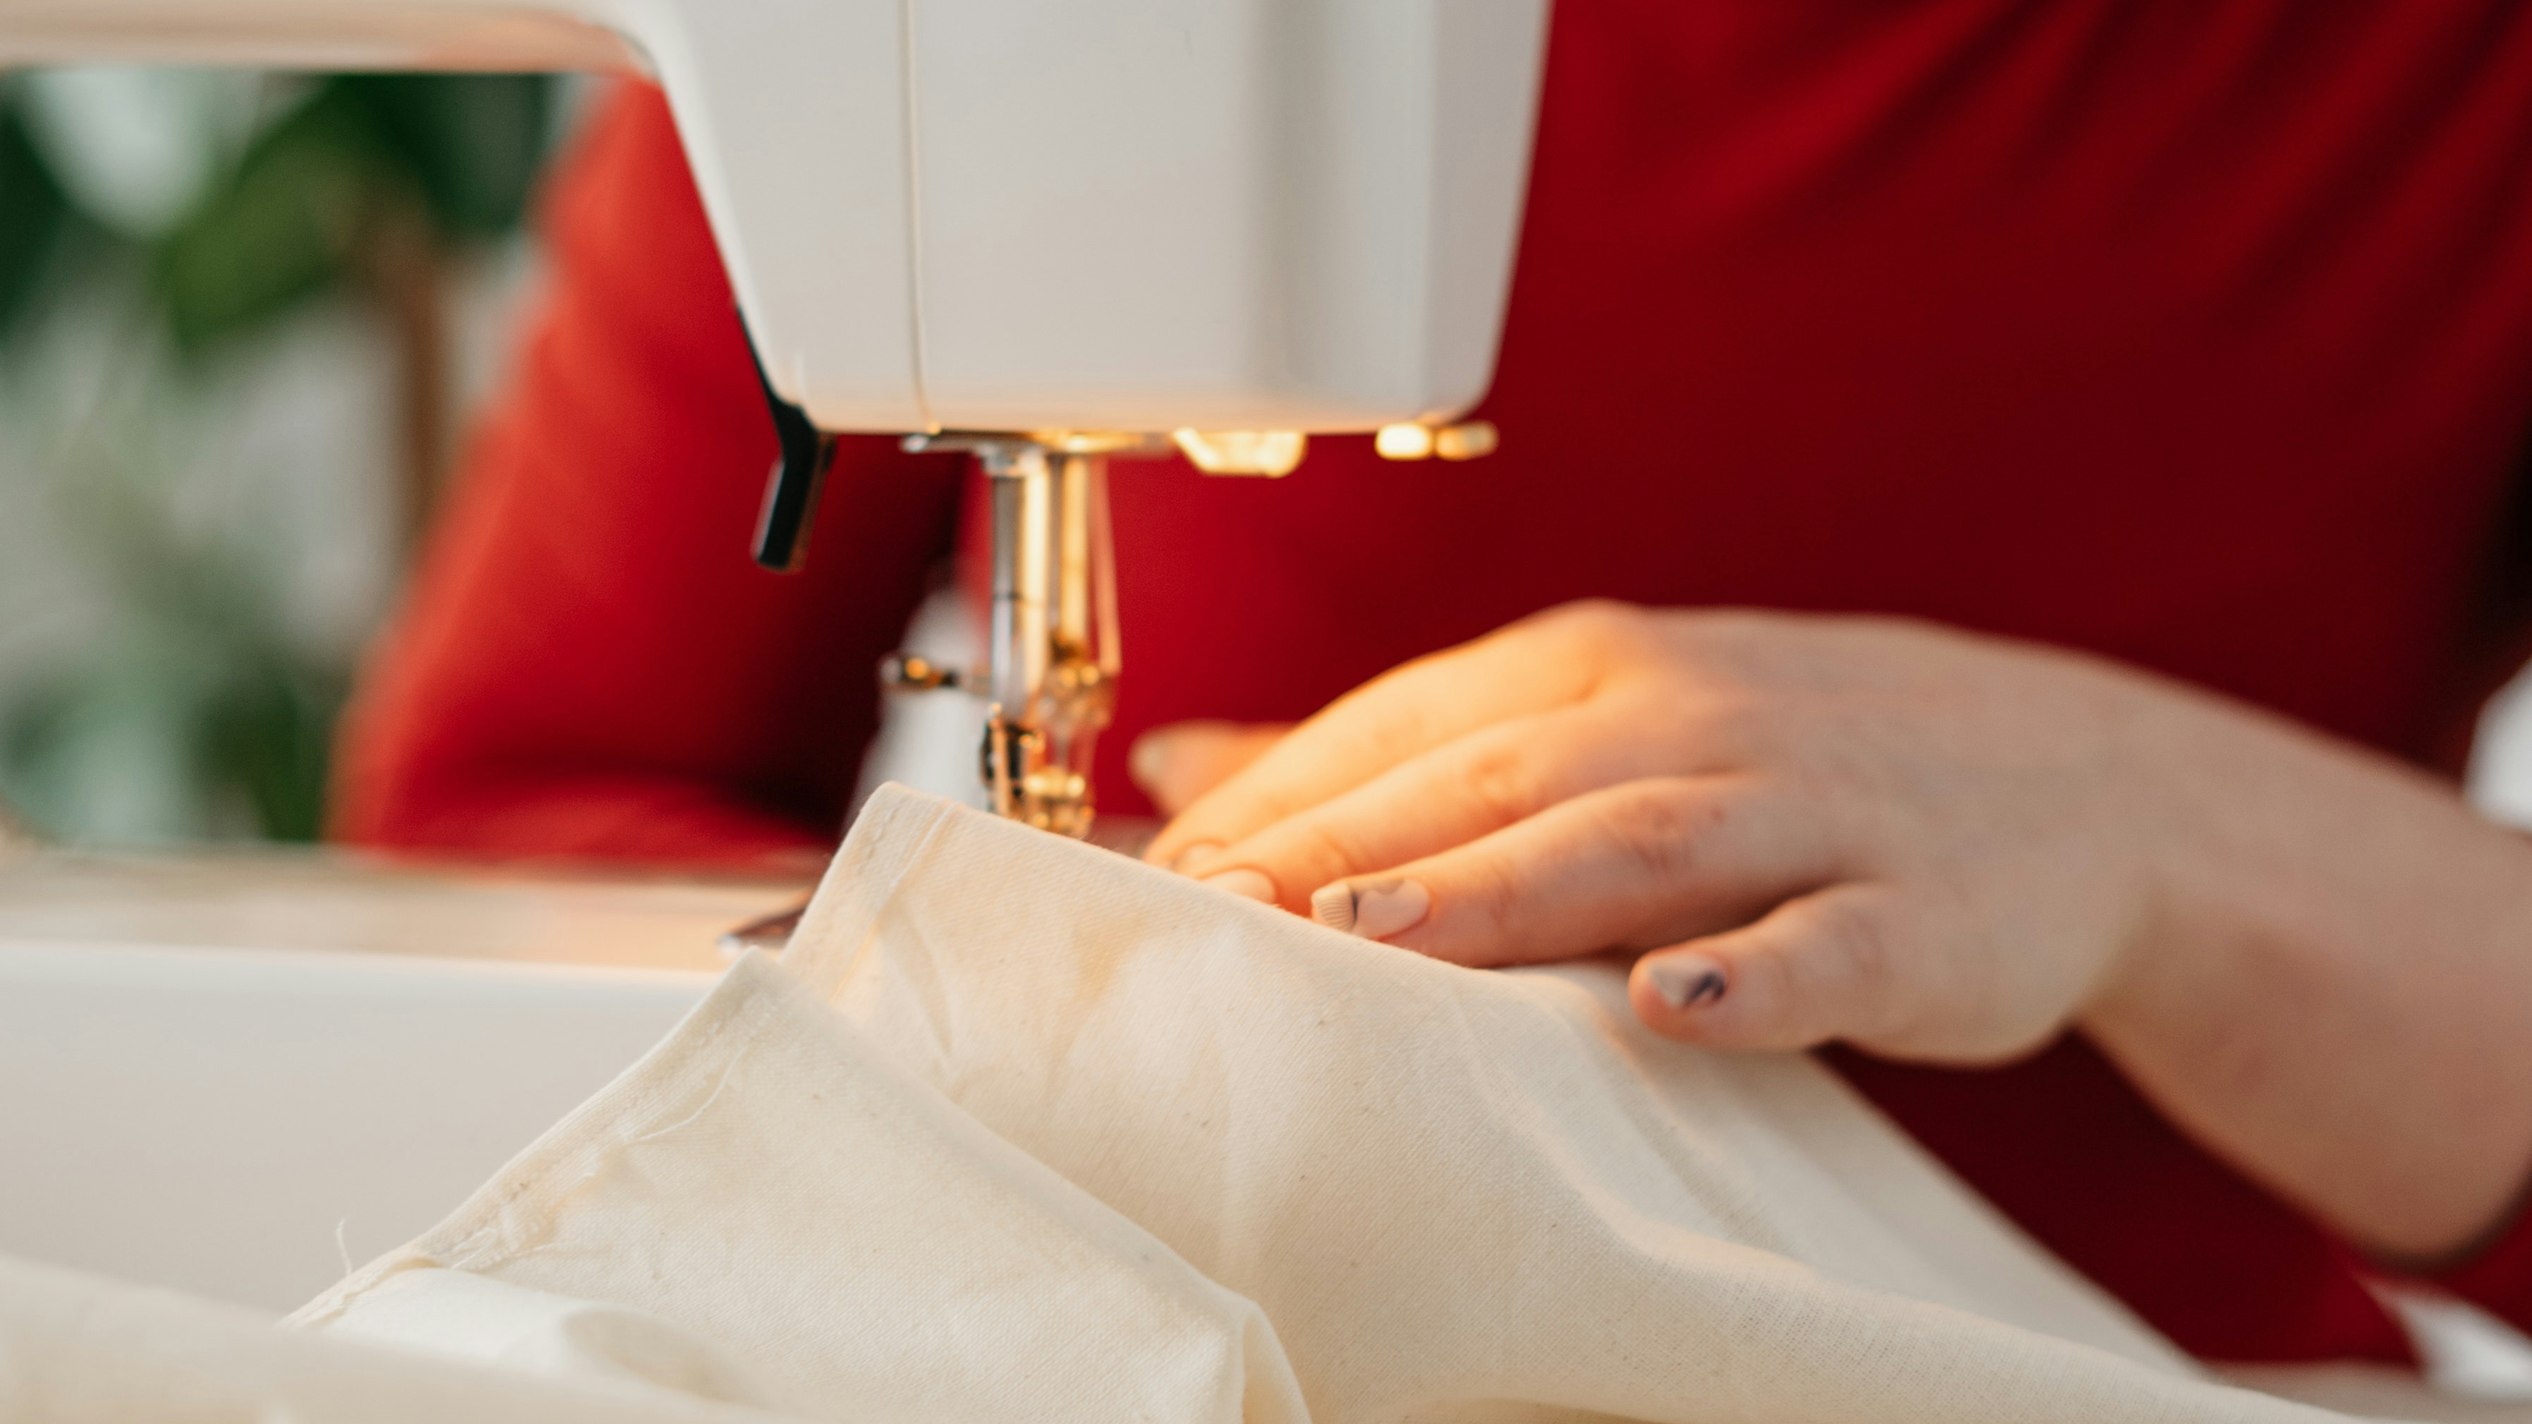
Choosing the right sewing machine can feel overwhelming, given the plethora of options available. Here’s a detailed guide to help you make an informed decision, ensuring you select a machine that perfectly suits your needs and projects.
1. Identify Your Purpose 🎯
Before diving into features and brands, consider what you’ll primarily use the sewing machine for:
- Beginners: If you're new to sewing, look for a basic, user-friendly model with essential features. These machines are less complicated and help you learn the basics without overwhelming you.
- Intermediate: For those with some experience, a machine with more stitch options and features like an automatic needle threader can enhance your sewing experience.
- Advanced: Experienced sewers should consider machines with advanced features such as a variety of decorative stitches, embroidery capabilities, and computerized functions.
2. Evaluate Essential Features 🧰
The features of a sewing machine can significantly impact its usability and the types of projects you can undertake. Here are some key features to look for:
- Stitch Options: More stitch options provide greater flexibility and creativity. Basic models may offer a few essential stitches, while advanced models can offer hundreds.
- Buttonhole Function: A one-step buttonhole function simplifies creating buttonholes, a common sewing task.
- Automatic Needle Threader: This feature saves time and reduces frustration by threading the needle for you.
- Adjustable Speed Control: Allows you to control the sewing speed, which is especially useful for beginners or when working on intricate details.
- Free Arm: Essential for sewing cylindrical items like sleeves and pant legs.
- Drop Feed: Useful for free-motion sewing and quilting.
3. Consider the Types of Projects 🧵
Different projects require different capabilities from your sewing machine:
- Clothing: If you plan to sew garments, look for features like multiple stitch options, free arm, and adjustable stitch length and width.
- Quilting: Machines with a large throat space, extension table, and specific quilting stitches are ideal for quilting projects.
- Embroidery: If you’re interested in embroidery, look for a machine with built-in embroidery designs and the capability to upload additional designs.
4. Set Your Budget 💵
Your budget will play a significant role in your decision. Sewing machines range from affordable to high-end models:
- Entry-Level: Basic machines, perfect for beginners, typically range from $100 to $300.
- Mid-Range: These machines offer more features and better durability, priced between $300 and $700.
- High-End: Professional-grade machines with advanced features can cost $700 and up. These are ideal for serious enthusiasts and professionals.
5. Brand and Warranty 🏷️
Choosing a reputable brand ensures quality, durability, and reliable customer support. Here are some well-regarded brands:
- Brother: Known for user-friendly machines with a good balance of features and affordability.
- Singer: A historic brand known for durable and reliable sewing machines.
- Janome: Offers a wide range of machines, from basic to advanced, known for their quality and innovation.
- Bernina: High-end machines known for precision and professional-grade performance.
Ensure the machine comes with a good warranty and accessible customer support. A longer warranty often indicates the manufacturer’s confidence in their product.
6. Additional Considerations 🔍
- Weight and Portability: If you need to move your machine often or attend sewing classes, consider a lightweight and portable model.
- Noise Level: Some machines operate more quietly than others, which can be important if you’ll be sewing in shared or quiet spaces.
- Ease of Maintenance: Look for machines that are easy to clean and maintain. Regular maintenance is key to the longevity of your machine.
- Accessories and Attachments: Some machines come with additional accessories like different presser feet, extension tables, and specialty needles. Check what’s included and what you might need to buy separately.
Top Sewing Machines for DIY Projects - Our Choice
Choosing the right sewing machine can make all the difference in your DIY projects. Here’s a detailed look at some of the top sewing machines on the market, each offering unique features and benefits to suit different needs and skill levels.
Brother CS6000i
The Brother CS6000i is a versatile and user-friendly sewing machine, perfect for beginners and intermediate sewers.
- 60 built-in stitches, including decorative stitches and 7 styles of one-step buttonholes.
- Automatic needle threader and drop-in bobbin for ease of use.
- Adjustable sewing speed control for precision.
- LCD display for easy stitch selection.
- Wide table for larger projects and quilting.
Advantages:
- Affordable: Great value for money with a wide range of features.
- Versatile: Suitable for various projects from clothing to quilting.
- User-Friendly: Easy to set up and use, making it ideal for beginners.
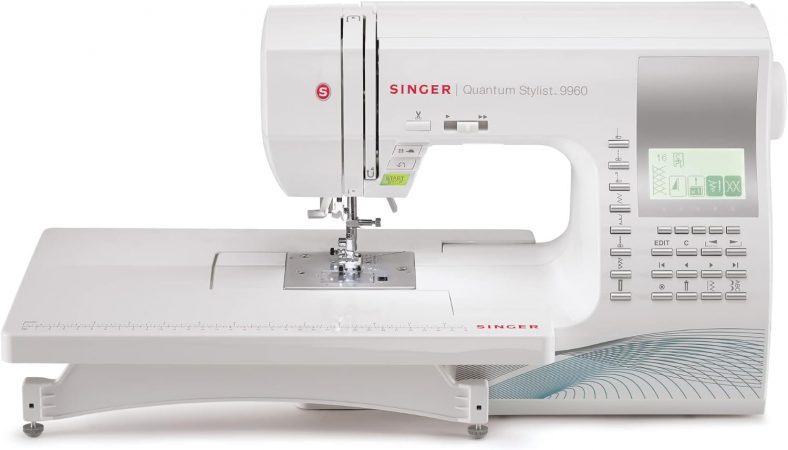
Singer Quantum Stylist 9960
The Singer Quantum Stylist 9960 is an advanced sewing machine packed with features that cater to experienced sewers.
- 600 built-in stitches, including 13 styles of fully automatic one-step buttonholes and 5 alphanumeric fonts.
- Electronic autopilot mode and speed control.
- Extension table for larger projects.
- Automatic needle threader and drop-in bobbin system.
- Mirror imaging and stitch elongation for creative designs.
Advantages:
- Extensive Stitch Options: Offers a wide variety of stitches for all types of projects.
- Advanced Features: Ideal for experienced sewers looking for more creative control.
- Durable: Built to last with high-quality materials.
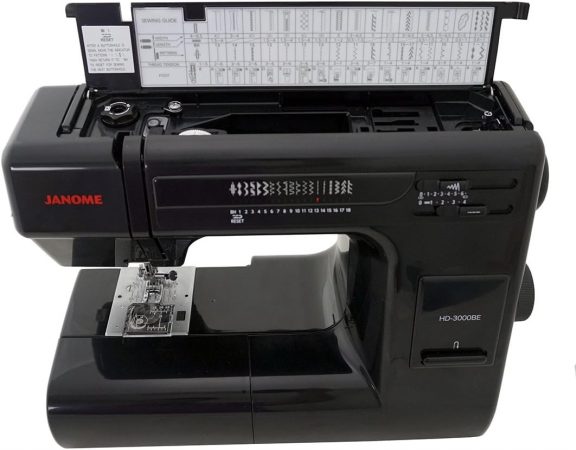
Janome HD3000
The Janome HD3000 is a heavy-duty sewing machine designed to handle thick fabrics and heavy use.
- 18 built-in stitches, including a one-step buttonhole.
- Heavy-duty aluminum body for durability.
- Adjustable presser foot pressure and extra-high presser foot lift.
- Built-in needle threader and drop-in bobbin.
- Storage compartment for accessories.
Advantages:
- Heavy-Duty: Can handle thicker fabrics like denim and leather.
- Reliable: Sturdy construction ensures longevity.
- Simple to Use: Straightforward design with essential features.
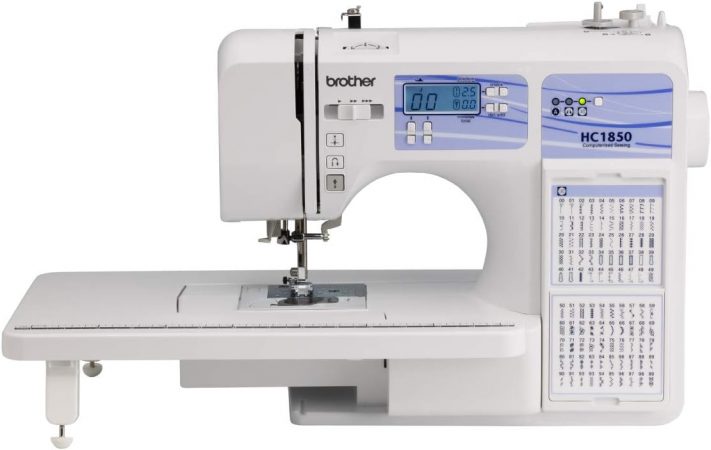
Brother HC1850
The Brother HC1850 is a versatile sewing and quilting machine, suitable for a wide range of projects and skill levels.
- 185 built-in stitches, including 8 styles of one-step buttonholes and alphanumeric stitches.
- Detachable wide table for quilting and larger projects.
- Automatic needle threader and drop-in bobbin.
- LCD screen for easy stitch selection.
- 14 quilting stitch functions.
Advantages:
- Versatile: Perfect for both sewing and quilting projects.
- User-Friendly: Easy setup and operation with helpful features for beginners.
- Value for Money: Offers a wide range of features at an affordable price.
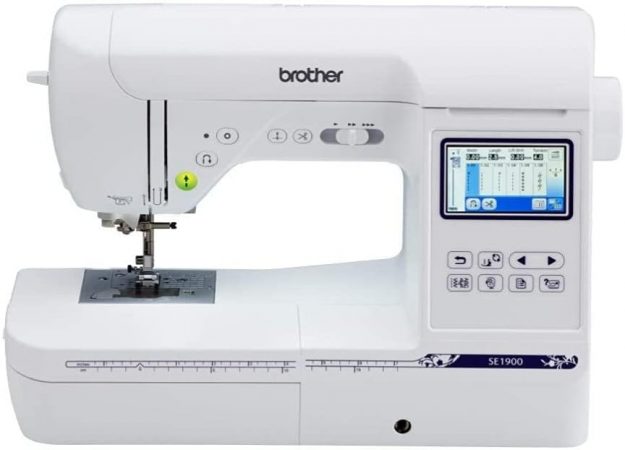
Brother SE1900
The Brother SE1900 is a versatile machine that combines sewing and embroidery capabilities, making it perfect for creative projects.
- 138 built-in embroidery designs and 11 fonts.
- 240 built-in sewing stitches, including 10 styles of auto-size buttonholes.
- 5 x 7-inch embroidery field with an included hoop.
- Touchscreen for easy design editing.
- USB port to import additional designs.
Advantages:
- Dual Functionality: Combines sewing and embroidery, expanding creative possibilities.
- Easy to Use: Touchscreen and USB port for easy design management.
- Versatile: Suitable for both everyday sewing and intricate embroidery.
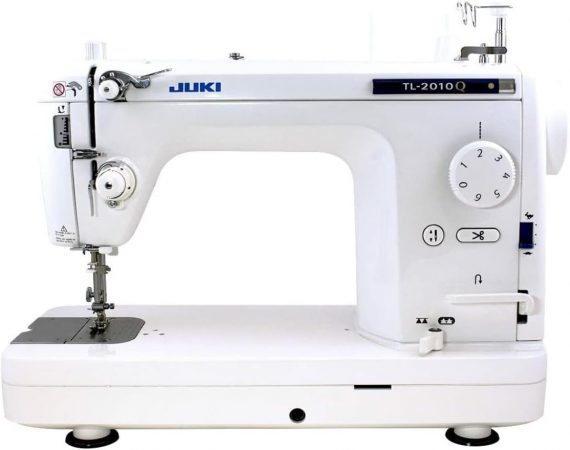
Juki TL-2010Q
The Juki TL-2010Q is a high-performance machine designed for quilting and straight stitching, known for its speed and precision.
- High sewing speed of up to 1,500 stitches per minute.
- Large throat area (8.5 inches) for large projects.
- Automatic thread trimmer and knee lifter lever.
- Precision pin feed system for handling various fabrics.
- Heavy-duty construction with an aluminum die-cast frame.
Advantages:
- Speed and Precision: Ideal for high-speed straight stitching and quilting.
- Durable: Built to withstand heavy use.
- Professional Quality: Offers features favored by professional sewers and quilters.
Common Sewing Machine Problems and Solutions
Even the best sewing machines can run into issues from time to time. Here are some common problems you might encounter and practical solutions to get your machine running smoothly again.
1. Thread Bunching (Bird’s Nesting) 🧵🐦
Problem: The thread bunches up under the fabric, creating a tangled mess.
Causes:
- Incorrect threading of the machine.
- Tension settings are too loose or too tight.
- Incorrect bobbin placement.
Solutions:
- Re-thread the Machine: Ensure that both the upper and lower threads are threaded correctly. Follow the threading guide in your machine’s manual.
- Check Tension Settings: Adjust the tension settings according to the fabric and thread you are using. Start with a medium setting and test on a scrap piece of fabric.
- Reinsert the Bobbin: Make sure the bobbin is inserted correctly in the bobbin case and that the thread is wound evenly.
2. Skipped Stitches 🚫✂️
Problem: The machine skips stitches, leading to uneven and weak seams.
Causes:
- Dull or bent needle.
- Incorrect needle for the fabric.
- Machine needs cleaning.
Solutions:
- Change the Needle: Replace the needle with a new one. Make sure it is the correct type and size for the fabric you are sewing.
- Use the Right Needle: Ensure you are using the appropriate needle for your fabric type (e.g., ballpoint needle for knits, sharp needle for wovens).
- Clean the Machine: Remove lint and dust from the bobbin area and around the needle. Regular maintenance can prevent skipped stitches.
3. Breaking Needles 💔🪡
Problem: Needles break frequently while sewing.
Causes:
- Improper needle type or size.
- Sewing over pins.
- Fabric is too thick for the needle.
Solutions:
- Select the Right Needle: Use the correct needle type and size for your fabric. Thicker fabrics require stronger needles.
- Avoid Sewing Over Pins: Remove pins as you sew to prevent the needle from hitting them.
- Adjust Fabric Handling: For thicker fabrics, sew slowly and use a heavy-duty needle. Consider using a walking foot if necessary.
4. Machine Not Running 🛑⚙️
Problem: The sewing machine won’t start or run.
Causes:
- Machine is not plugged in or power is off.
- Foot pedal not connected properly.
- Blown fuse or electrical issue.
Solutions:
- Check Power Supply: Ensure the machine is plugged in and the power switch is turned on.
- Inspect Foot Pedal: Verify that the foot pedal is connected properly and there are no loose wires.
- Check Fuse: If the machine still doesn’t run, check the fuse (if applicable) or consult a professional technician.
5. Fabric Not Feeding Properly 🚫📏
Problem: The fabric doesn’t move through the machine smoothly, causing uneven stitches.
Causes:
- Feed dogs are lowered.
- Incorrect presser foot pressure.
- Slippery or sticky fabric.
Solutions:
- Raise Feed Dogs: Ensure the feed dogs are in the up position. Refer to your manual if you’re unsure how to adjust them.
- Adjust Presser Foot Pressure: Modify the pressure to suit the fabric you are using. Heavier fabrics require more pressure, while lighter fabrics need less.
- Use the Right Tools: For slippery fabrics, use a walking foot or place tissue paper between the fabric and the feed dogs.
6. Machine Jamming ⚙️🚫
Problem: The machine jams, making it impossible to sew.
Causes:
- Thread or fabric caught in the machine.
- Improperly wound bobbin.
- Accumulated lint and dust.
Solutions:
- Turn Off and Unplug: Turn off the machine and unplug it before attempting to fix the jam.
- Remove the Bobbin and Needle Plate: Clear any thread or fabric caught in the bobbin area and under the needle plate.
- Clean the Machine: Regularly clean out lint and dust, and ensure the machine is properly oiled according to the manufacturer’s instructions.
7. Unusual Noise 🆘🔊
Problem: The sewing machine makes unusual noises during operation.
Causes:
- Lack of lubrication.
- Loose parts.
- Foreign objects in the machine.
Solutions:
- Oil the Machine: Follow the manufacturer’s instructions for oiling the machine to ensure smooth operation.
- Tighten Screws: Check and tighten any loose screws or parts.
- Inspect for Obstructions: Make sure no small objects or threads are caught in the machine.
Tips for Sewing Success
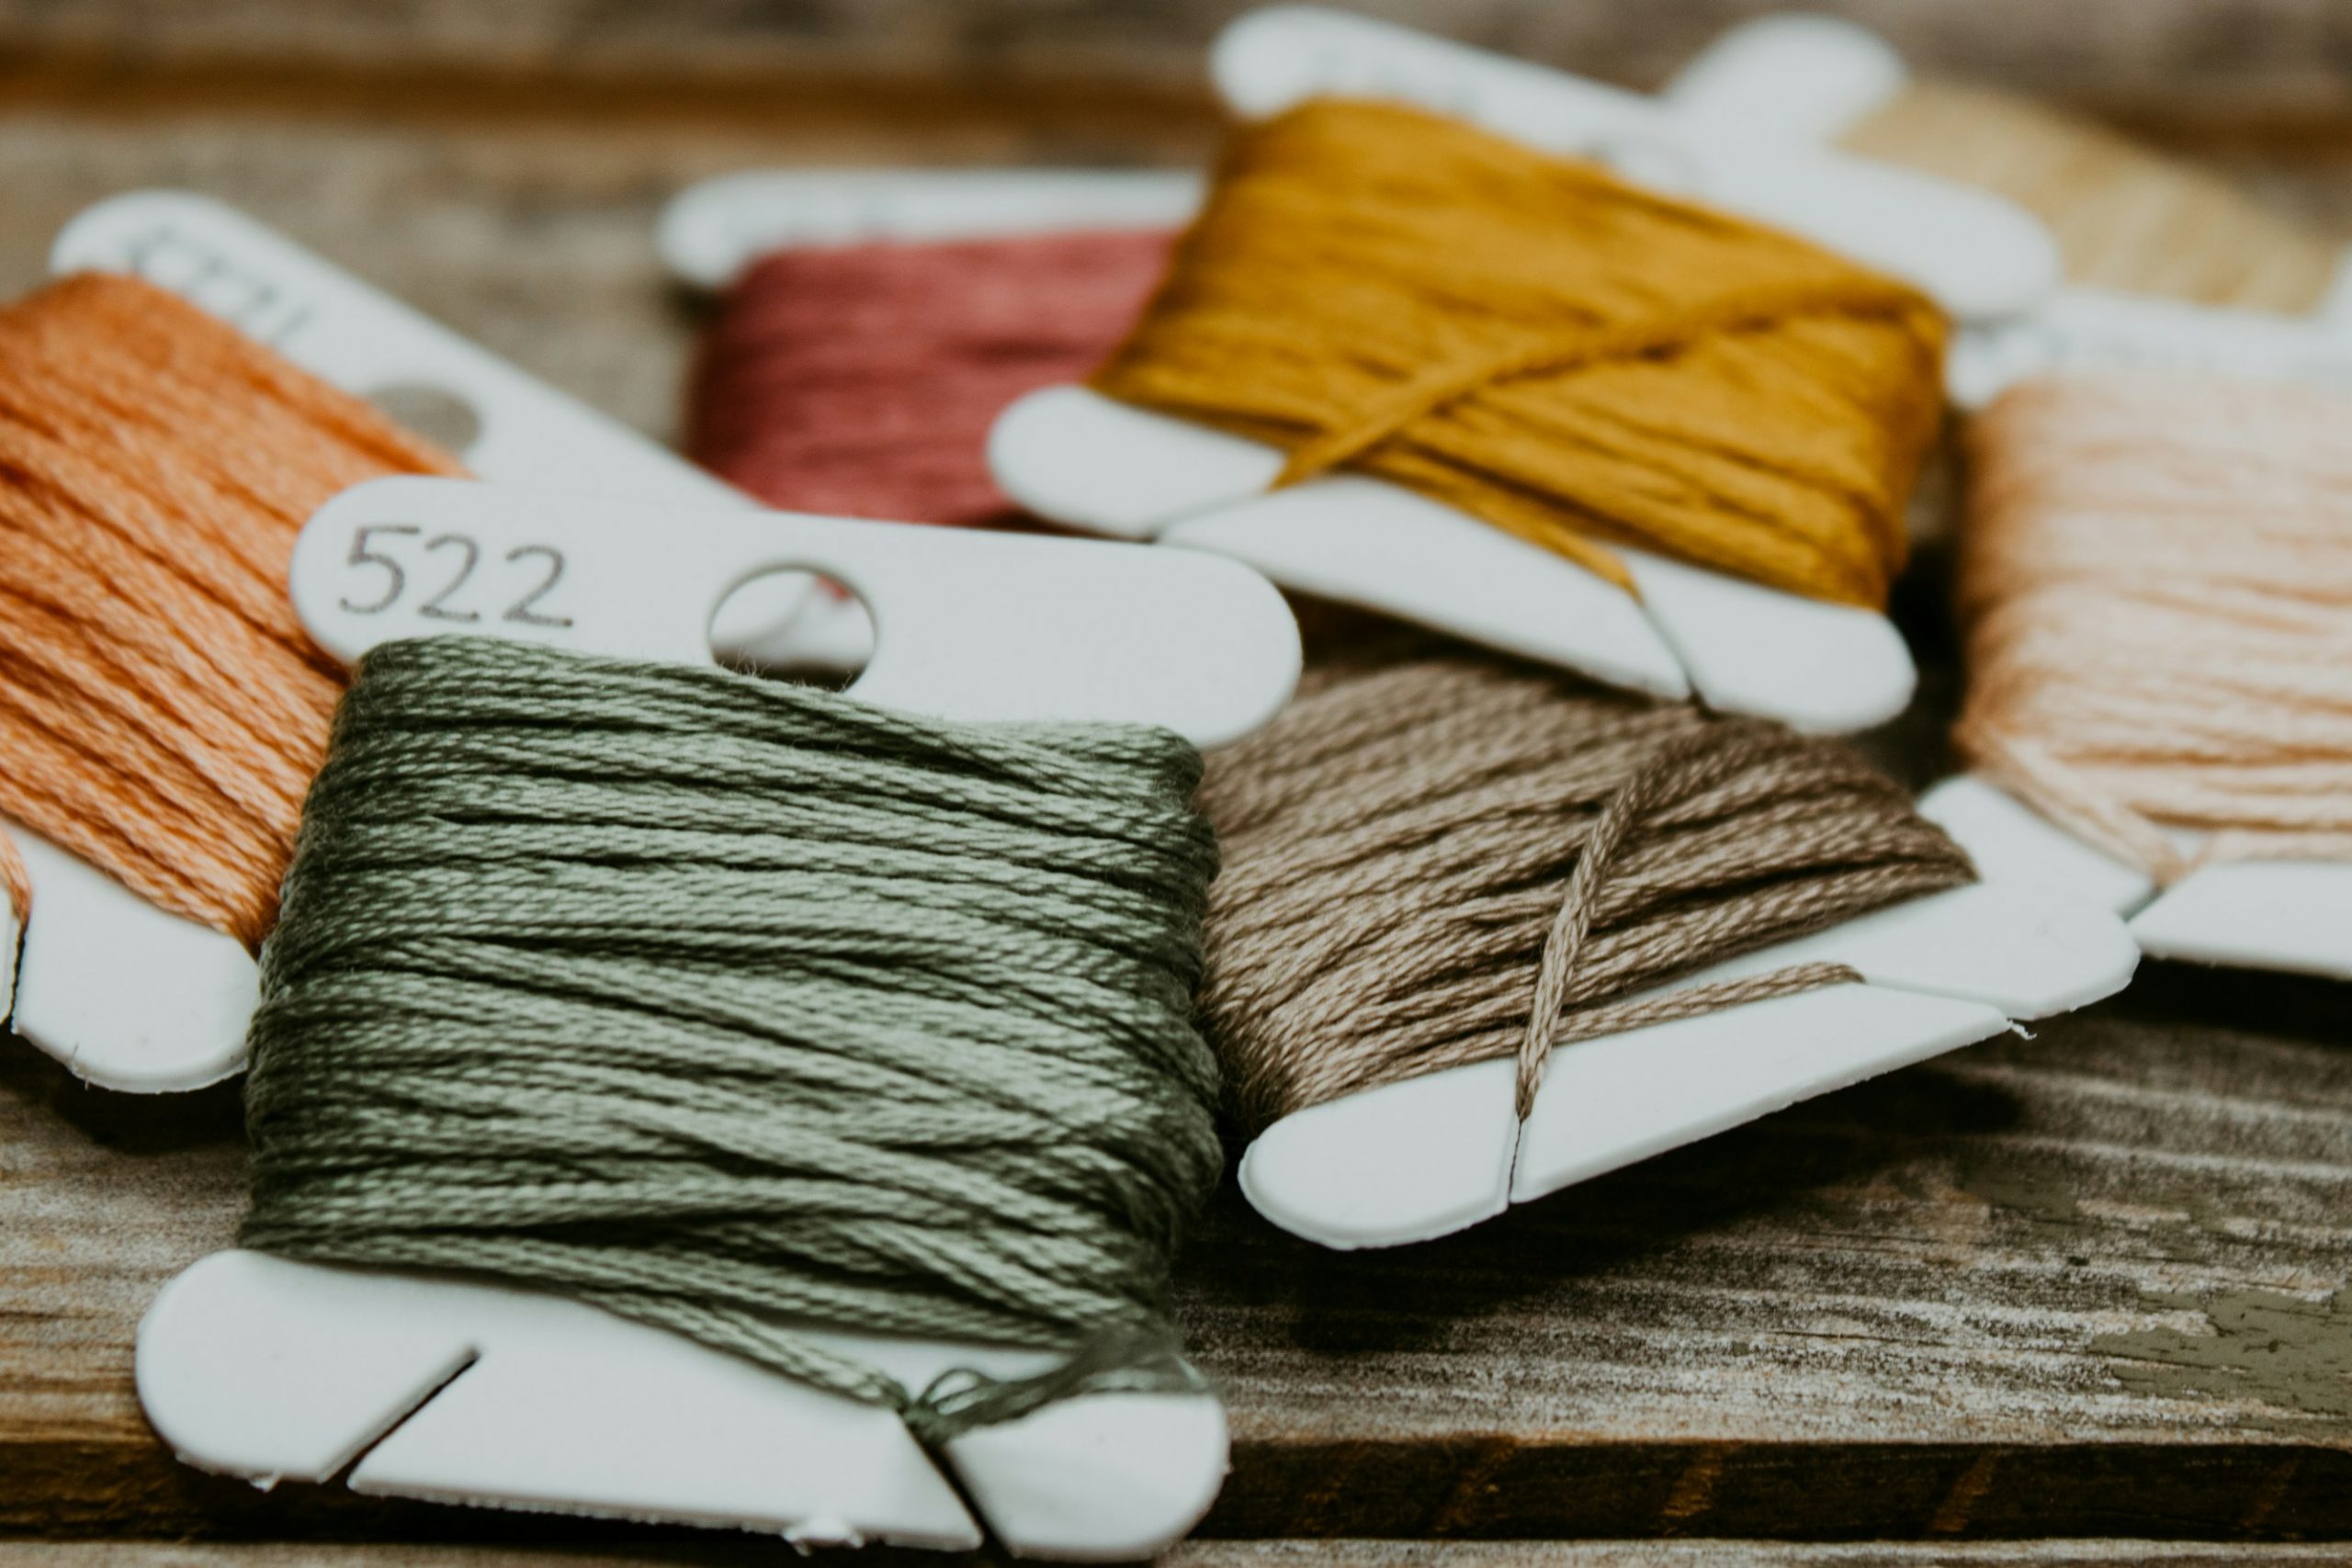
Achieving sewing success involves more than just having a good machine. Here are some essential tips to help you master your sewing projects and create beautiful, professional-quality items.
1. Choose the Right Fabric 🧵✨
Selecting the appropriate fabric is crucial for the success of your project.
- Understand Fabric Types: Learn about different fabrics such as cotton, linen, silk, polyester, and their suitable uses.
- Pre-Wash Fabrics: Always wash and iron your fabrics before starting to avoid shrinkage and ensure accurate measurements.
- Match Fabric to Project: Choose fabrics that are suitable for your project. For example, use lightweight fabrics for blouses and heavier fabrics for jackets.
2. Use the Correct Needle 🪡🔍
Using the right needle can prevent many common sewing problems.
- Match Needle to Fabric: Use a sharp needle for woven fabrics and a ballpoint needle for knits.
- Replace Regularly: Change your needle after every project or after 8 hours of sewing to ensure sharpness.
- Check Needle Size: Ensure the needle size matches the thickness of your fabric and thread.
3. Accurate Measurements and Cutting 📏✂️
Precision in measuring and cutting is key to a well-finished project.
- Use Quality Tools: Invest in good-quality scissors, rotary cutters, and measuring tapes.
- Mark Your Fabric: Use tailor’s chalk or washable fabric markers to mark your fabric accurately.
- Cut on a Flat Surface: Always cut fabric on a large, flat surface to avoid distortions and inaccuracies.
4. Master Pattern Reading 📚🧩
Understanding and following sewing patterns correctly is essential.
- Read Instructions Carefully: Take the time to read all instructions before starting.
- Check Pattern Pieces: Ensure all pattern pieces are accounted for and in the correct size.
- Make Adjustments: Adjust the pattern as needed to fit your measurements. Don’t be afraid to customize.
5. Proper Pinning and Basting 📌🔗
Properly securing your fabric before sewing ensures accurate seams and prevents shifting.
- Pin Strategically: Pin perpendicular to the seam line to keep fabric layers from shifting.
- Use Basting Stitches: For more complex seams, use long, temporary stitches to hold pieces together before the final sewing.
6. Perfect Your Seams and Hems 🧵👌
Seams and hems are the foundation of any sewing project.
- Press as You Sew: Use an iron to press seams open or to one side as you sew to create a neat finish.
- Use the Right Seam Finish: Choose the appropriate seam finish for your fabric, such as pinking shears, zigzag stitches, or serging.
- Hem Evenly: Measure and pin hems evenly before sewing to ensure a consistent finish.
7. Sewing Machine Mastery ⚙️🎓
Understanding your sewing machine and its capabilities is essential for successful sewing.
- Read the Manual: Familiarize yourself with your sewing machine manual to understand its features and maintenance needs.
- Practice Stitching: Spend time practicing different stitches and adjusting tension to achieve perfect results.
- Keep Machine Clean: Regularly clean your machine and oil it as per the manufacturer’s instructions to keep it running smoothly.
8. Pressing Matters 🧼🔥
Pressing is an often-overlooked step that can significantly enhance the look of your finished project.
- Press Don’t Iron: Press by lifting and setting down the iron instead of sliding it, which can stretch the fabric.
- Use the Right Heat Setting: Adjust the iron’s heat setting according to the fabric type to avoid burns and shine marks.
- Press Seams: Always press seams after sewing for a professional finish.
9. Stay Organized 🗂️✅
Keeping your sewing space organized can improve your efficiency and reduce mistakes.
- Organize Supplies: Keep your tools, threads, and fabrics neatly organized and easily accessible.
- Create a Sewing Kit: Have a kit with all your essential sewing tools so you can quickly find what you need.
- Label Patterns and Fabrics: Clearly label your patterns and fabrics to avoid confusion during your projects.
10. Patience and Practice 🌟💪
Sewing is a skill that improves with time and practice.
- Start Simple: Begin with simple projects and gradually take on more complex ones as your skills improve.
- Learn from Mistakes: Don’t get discouraged by mistakes. Use them as learning opportunities.
- Take Your Time: Rushing can lead to errors. Take your time to ensure precision and quality.
FAQ
When buying your first sewing machine, consider the following:
- Purpose: Determine what you will primarily use the machine for—basic sewing, quilting, embroidery, etc.
- Features: Look for essential features such as stitch options, automatic needle threader, and adjustable speed control.
- Ease of Use: Opt for a user-friendly model with clear instructions and support.
- Budget: Set a budget and find a machine that offers the best features within your price range.
- Brand Reputation: Choose a reputable brand known for quality and customer support.
Regular maintenance is key to keeping your sewing machine in good working order:
- Clean Regularly: Remove lint and dust from the bobbin area and around the needle.
- Oil the Machine: Follow the manufacturer’s instructions for oiling your machine to ensure smooth operation.
- Change Needles: Replace needles frequently to avoid damage to the fabric and the machine.
- Check Tension: Regularly check and adjust the tension settings as needed.
- Professional Servicing: Take your machine for professional servicing once a year.
Thread bunching, also known as bird’s nesting, can be caused by:
- Incorrect Threading: Re-thread the machine, making sure both the upper and lower threads are correctly threaded.
- Tension Issues: Adjust the tension settings. Start with a medium setting and test on a scrap piece of fabric.
- Bobbin Placement: Ensure the bobbin is inserted correctly and the thread is wound evenly.
Using the right needle for your fabric is essential:
- Woven Fabrics: Use a sharp or universal needle.
- Knits and Stretch Fabrics: Use a ballpoint or stretch needle.
- Heavy Fabrics: Use a heavy-duty or denim needle.
- Delicate Fabrics: Use a fine needle.
To prevent fabric puckering:
- Use the Correct Needle and Thread: Match the needle and thread to your fabric.
- Adjust Tension: Check and adjust the tension settings.
- Stabilize Fabric: Use a stabilizer for lightweight or stretchy fabrics.
- Proper Pressing: Press seams as you sew to keep the fabric flat.
Skipped stitches can be caused by:
- Dull or Bent Needle: Replace the needle with a new one.
- Incorrect Needle Type: Use the correct needle type for your fabric.
- Machine Needs Cleaning: Clean the machine to remove lint and dust.
- Thread Tension Issues: Check and adjust the thread tension settings.
Essential sewing accessories include:
- Presser Feet: Different types for various sewing tasks.
- Needles: A variety of needles for different fabrics.
- Bobbins: Extra bobbins for different thread colors.
- Thread: High-quality thread in various colors.
- Seam Ripper: For removing stitches.
- Measuring Tape: For accurate measurements.
- Pins and Pincushion: For securing fabric pieces.
If your sewing machine won’t start:
- Check Power Supply: Ensure the machine is plugged in and the power switch is on.
- Foot Pedal Connection: Verify that the foot pedal is connected properly.
- Check Fuse: Inspect the fuse and replace it if necessary.
- Consult Manual: Refer to the user manual for troubleshooting tips.
Yes, many sewing machines can be used for quilting. Look for features such as:
- Large Throat Space: For handling large quilts.
- Extension Table: To support the fabric.
- Quilting Stitches: Built-in quilting stitch options.
- Walking Foot: To help feed multiple layers of fabric evenly.
Unusual noises can indicate:
- Lack of Lubrication: Oil the machine as per the manufacturer’s instructions.
- Loose Parts: Tighten any loose screws or parts.
- Foreign Objects: Check for small objects or threads caught in the machine.
- Seek Professional Help: If the noise persists, consult a professional technician.

